
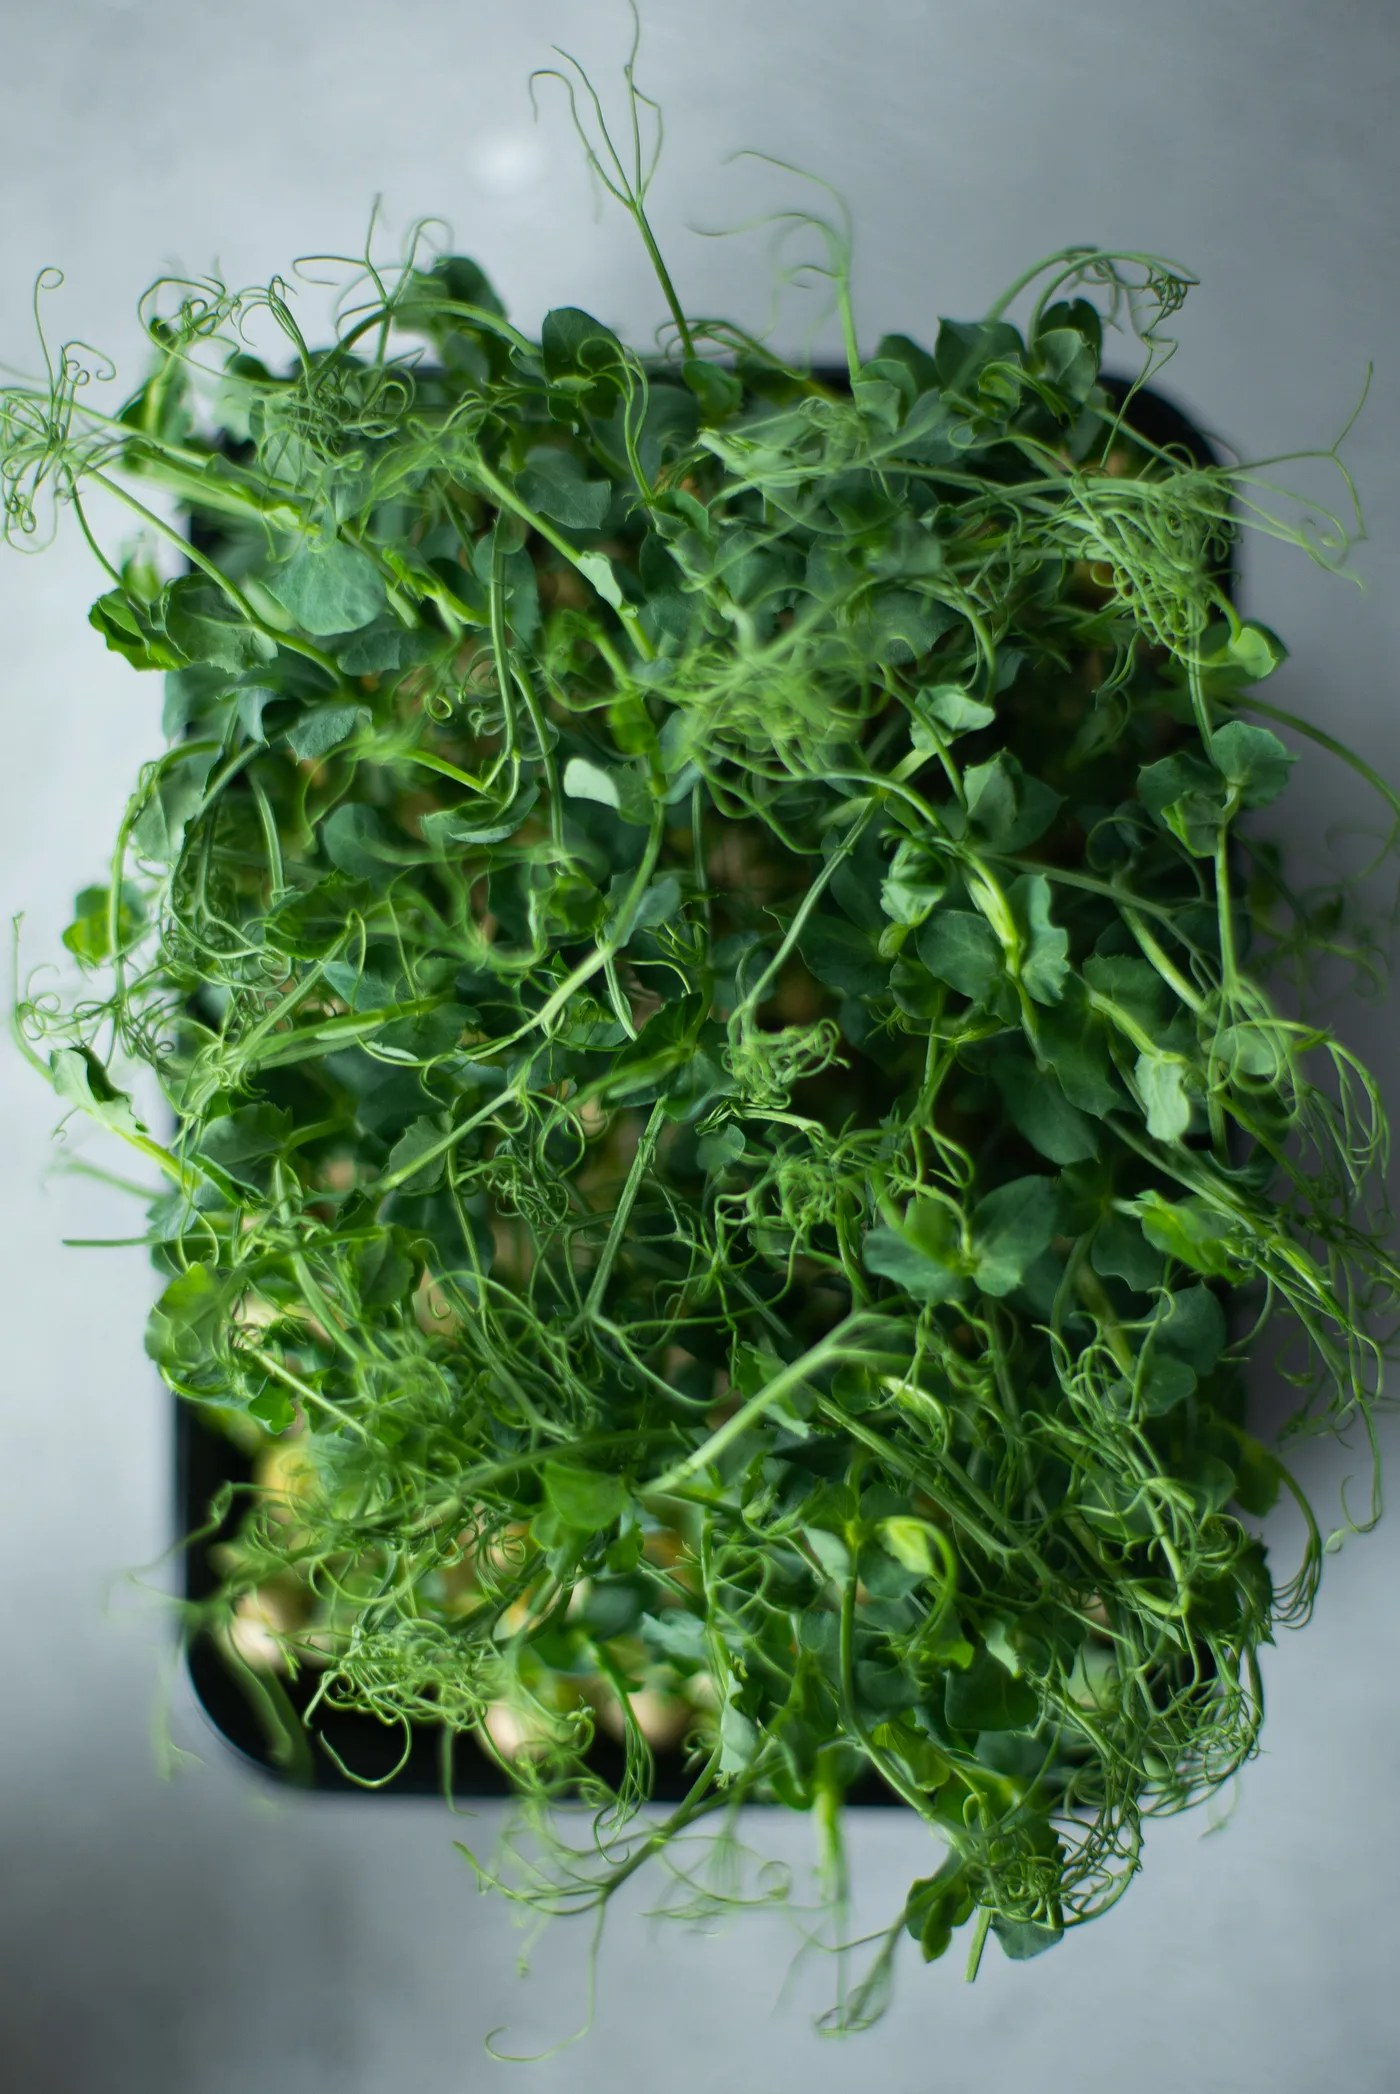
Microgreens are the most immediately satisfying thing you can grow indoors. Seed to plate in 7–14 days, startup cost under $30, zero outdoor space required, and a nutritional density that embarrasses the fully grown versions of the same plants. If you’ve been thinking about starting a kitchen garden but haven’t pulled the trigger, microgreens are the right place to begin — the feedback loop is fast enough to be genuinely motivating, and the margin for failure is almost zero once you understand the process.
Affiliate Disclosure: HarvestSense.ai is a participant in the Amazon Services LLC Associates Program. This article contains affiliate links — if you purchase through them, we earn a small commission at no extra cost to you. We only recommend products we’d genuinely use. Full disclosure here.
📋 In This Guide
- What Microgreens Actually Are (and Why the Nutrition Numbers Are Real)
- The Best Varieties for Beginners
- What You Actually Need to Get Started
- Quick Picks by Budget
- Good, Better, Best: Microgreens Growing Setups
- The Growing Process: Step by Step
- Succession Growing: Never Run Out
- Harvesting and Using Your Microgreens
- Troubleshooting Common Problems
- What to Read Next
Affiliate Disclosure: HarvestSense.ai is a participant in the Amazon Services LLC Associates Program. This article contains affiliate links — if you purchase through them, we earn a small commission at no extra cost to you. We only recommend products we’d genuinely use. Full disclosure here.
What Microgreens Actually Are (and Why the Nutrition Numbers Are Real)
Microgreens are vegetable and herb seedlings harvested at the cotyledon stage — after the seed has germinated and the first set of leaves has emerged, but before the plant develops its first true leaves. That harvest window is typically 7–14 days after sowing, depending on the variety. The resulting greens are 1–3 inches tall, intensely flavored, and visually striking — not the pale, stringy sprouts people sometimes picture, but vivid, dense, stand-up greens that look intentional on a plate.
The nutritional claim is the one that most people assume is marketing, but the research backs it up. A widely cited USDA study found that many microgreens contain 4 to 40 times the nutrient concentration of their mature counterparts — significantly higher levels of vitamins C, E, and K, beta-carotene, and other phytonutrients, measured by weight. The explanation is biological: the plant mobilizes its full stored nutrient reserves to fuel the explosive early growth phase, which is exactly when you’re harvesting it. You’re eating the plant at its most nutritionally dense moment.
This doesn’t mean you’re replacing your whole vegetable intake with a handful of microgreens — the serving sizes are small, and the calorie and fiber content is negligible. What it means is that a small amount of microgreens added to eggs, salads, sandwiches, or smoothies adds a genuinely meaningful nutritional contribution in exchange for almost no space, cost, or effort. That’s a rare combination in the food world.
Microgreens are also distinct from sprouts, which are germinated seeds eaten root and all in water. Microgreens grow in a growing medium, develop real leaves, and are harvested above the root line. The food safety profile of microgreens is considerably better than sprouts, which require warm, humid conditions that can harbor bacteria. Microgreens are grown in open air and harvested cleanly — no food safety concerns beyond standard produce hygiene.
The Best Varieties for Beginners
Not all microgreens are equally forgiving. Some varieties germinate unevenly, grow slowly, or require specific conditions that add complexity for first-time growers. The following five are the easiest, fastest, and most universally useful — start here before expanding into specialty varieties.
Sunflower
Sunflower microgreens are the most satisfying beginner variety. Large seeds, fast and even germination, meaty cotyledons with a mild, slightly nutty flavor — they’re ready in 10–12 days and produce a yield that looks and feels substantial. The large seed size makes even seeding easy, and the thick stems hold up well in salads and on sandwiches without wilting immediately. If you grow only one variety, make it sunflower.
Radish
Radish microgreens are the fastest on this list — typically ready in 5–7 days. They have a sharp, peppery bite that adds real flavor contrast to eggs, grain bowls, and sandwiches. Germination is extremely reliable, the plants grow vigorously with minimal attention, and the red-stemmed varieties (like Daikon Rambo) are visually striking. Radish is also a useful early confidence-builder because of how quickly it works.
Pea shoots
Pea shoot microgreens have a sweet, fresh flavor that’s closer to snow peas than the sharp flavors of most brassica microgreens. They grow tall — often 4–6 inches — with attractive tendrils, and look beautiful as a garnish or bed for other ingredients. Soak the seeds for 8–12 hours before sowing to speed germination. Ready in 8–12 days; best harvested young before the flavor intensifies.
Broccoli
Broccoli microgreens are nutritionally the strongest choice on this list — they’re among the highest sources of sulforaphane, a compound extensively studied for its antioxidant and anti-inflammatory properties. The flavor is mild and slightly cruciferous, not overpowering. Small seeds require more careful sowing, but germination is reliable and the plants are fast (ready in 6–9 days). A good all-purpose choice if you want to maximize the functional food value of your microgreens rotation.
Amaranth
Amaranth is the most visually dramatic beginner variety — the cotyledons develop vivid magenta-pink undersides against bright green tops, and a tray of amaranth microgreens looks genuinely striking. The flavor is mild and slightly earthy. Seeds are very small and require careful even distribution, but germination is reliable. Ready in 8–10 days. Worth including in any rotation once you’re past the first few trays.
What You Actually Need to Get Started
The barrier to entry for microgreens is genuinely low. Here’s what the process actually requires — and where you can cut corners versus where quality matters.
Trays
The standard microgreens tray is the 1020 flat — 10 inches by 20 inches — used in two-tray pairs. The bottom tray has no holes and serves as a water reservoir for bottom-watering. The top tray has drainage holes and holds the growing medium and seeds. You can also run single trays with drainage holes and water from the top, but bottom-watering produces better results by keeping moisture at the root zone without wetting the foliage (wet foliage on dense microgreens encourages mold).
Tray quality matters more than most beginners expect. Thin, flimsy trays crack after a few uses and don’t seal well for bottom-watering. Thicker plastic trays last dozens of cycles and pay for themselves quickly. A set of BOOTSTRAP 1020 seedling trays (~$15 for a 10-pack) is the right budget starting point: thick enough to be reusable, correctly sized for standard 1020 setups, and available in packs large enough to run multiple simultaneous trays for succession planting.
Growing medium
Microgreens can grow in several different media: standard potting mix, coco coir, peat-based germination mix, jute grow mats, or hemp fiber grow mats. Each has tradeoffs. Soil-based media produce the highest yields and the most flavorful greens for most varieties, but cleanup between cycles requires replacing the soil. Grow mats (jute or hemp fiber) are cleaner, easier to manage, and produce excellent results for varieties with small seeds — the mat provides a stable surface that keeps tiny seeds from sinking or shifting. Reusable grow mats can be rinsed and used for multiple cycles before composting.
For a first grow, either works. If you want the simplest possible setup, start with a quality potting mix and graduate to grow mats once you’ve done a few cycles and understand what the plants need.
Seeds
Use seeds specifically sold for microgreen or sprouting use, not vegetable garden seeds. Garden seeds are often treated with fungicides, which you don’t want on food you’re eating within two weeks of germination. Microgreen seeds are sold untreated, often in organic-certified varieties, and in the larger quantities that make economic sense for the heavy seeding rates microgreens require. Most online microgreens seed suppliers (True Leaf Market, Johnny’s Seeds, Mumm’s) offer excellent selection and quality. For convenience, seeds bundled with grow mats in kit form reduce the setup friction significantly for beginners.
Light
Microgreens need light, but not as much as most people assume. A bright south-facing window produces acceptable results for varieties like pea shoots and sunflower. For consistent results across all varieties and all seasons, a basic grow light is the upgrade that makes the biggest difference. Even a single bar-style LED positioned 2–4 inches above the tray produces dramatically more consistent germination and growth than window-only growing, especially in winter. More on this in the GBB section below.
⚡ Quick Picks by Budget
- 🟢 Good — BOOTSTRAP 1020 Seedling Trays (~$15)
10-pack of durable standard 1020 flat trays — buy seeds and potting mix separately and you’re growing for under $30 total. - 🔵 Better — RMBHM Microgreens Growing Trays Kit (~$50)
6 grow trays with 12 pre-cut hemp fiber grow mats — no soil, no mess, just add seeds and water. A complete no-fuss setup for your first soil-free grow. - ⭐ Best — ZESTIGREENS Organic Self-Watering Microgreens Kit (~$149)
Reusable bamboo-framed tray with self-watering reservoir, organic seeds, and hemp grow mats — the most complete and sustainable setup available.
Good, Better, Best: Microgreens Growing Setups
🟢 Good — BOOTSTRAP 1020 Seedling Trays (~$15)
The BOOTSTRAP 1020 flat is the baseline setup: thick reusable plastic trays in pairs, correctly sized for standard microgreens growing, available in a 10-pack that gives you enough trays to run a full succession rotation (3–4 trays at different stages simultaneously). To complete this setup, you’ll add a bag of potting mix or coco coir (~$8–12), a packet of seeds (~$5–10 for multiple varieties), and light from a window or a simple grow light bar. Total first-grow cost: $25–40 depending on what you already have. This is the approach for people who want full control over their process, the lowest per-harvest cost over time, and the flexibility to experiment with any variety or growing medium.
🔵 Better — RMBHM Microgreens Growing Trays Kit (~$50)
The RMBHM kit takes the DIY friction out of microgreens growing without locking you into a subscription model. Each kit includes 6 growing trays paired with 12 pre-cut hemp fiber grow mats — you simply lay a mat in the tray, scatter your seeds, mist, and cover. No soil to measure, no loose medium to spill or clean up. The hemp fiber mats hold moisture evenly, promote clean root development, and the whole process from setup to sowing takes under five minutes. Because the mats are the growing medium, cleanup between cycles is as simple as lifting out the spent mat and replacing it. You choose your own seeds, which means full variety flexibility — and bulk seeds cost far less per grow than pre-seeded proprietary quilts. The 6-tray format is also ideal for succession planting from day one: stagger your sowing dates across trays and you’ll have fresh microgreens ready to cut on a rolling weekly basis.
⭐ Best — ZESTIGREENS Organic Self-Watering Microgreens Kit (~$149)
The ZESTIGREENS kit is what microgreens growing looks like when sustainability and design are taken seriously together. The kit includes a reusable grow tray with a beautiful bamboo surround, a hydroponic watering insert that wicks moisture up to the grow mat automatically, a blackout felt lid for the germination phase, organic hemp grow mats, and packets of organic seeds to get started. The self-watering reservoir eliminates the daily bottom-watering routine entirely — you fill the reservoir once and the mat stays consistently moist until harvest. The bamboo frame gives it a countertop-object aesthetic that most microgreens setups can’t match: this is something you leave out on a kitchen counter because it looks good, not something you tuck away between grows. All components are reusable and compostable, making it the lowest-waste setup on this list. At $149 it’s a real investment for a microgreens setup, but it’s also a permanent system you’ll run for years — not a seasonal experiment.
The Growing Process: Step by Step
This walkthrough covers the standard soil/tray method — the most common approach and the one that gives you the most transferable knowledge. If you’re using a kit like the RMBHM or ZESTIGREENS, follow the kit instructions; they simplify or eliminate most of these steps.
Day 0: Setup and sowing
Fill your growing tray to about 1 inch deep with pre-moistened potting mix or lay a dampened grow mat flat in the tray. The medium should be moist but not wet — squeeze a handful and it should hold together without dripping. Sow seeds densely and evenly across the entire surface: microgreens are grown at much higher density than garden plants, and gaps in coverage create uneven growth. For most varieties, seeds should be touching or nearly touching across the surface. Larger seeds like sunflower and pea can be layered lightly; small seeds like broccoli and radish need a single even layer.
After sowing, mist the surface lightly with a spray bottle, then cover the tray with a second tray or a humidity dome. This “blackout phase” encourages germination by creating darkness and humidity. For large seeds (sunflower, pea), you can place a weighted object — a book, a second filled tray — on top to press the seeds into the medium and encourage root contact.
Days 1–3: Germination phase
Leave the covered tray undisturbed in a room-temperature location. Most varieties will show significant germination within 24–48 hours. Check once daily to mist the medium if it’s drying out (it usually won’t need it during this phase), but otherwise leave the cover in place. The blackout phase typically lasts 2–3 days for most varieties — until the seedlings are pushing against the cover or are 1–2 inches tall.
Days 3–5: Move to light
Once seedlings are up and pressing against the cover, remove it and move the tray to your light source. Position the tray 2–4 inches below a grow light, or in the brightest window available. From this point, switch from misting to bottom-watering: pour water into the lower (no-holes) tray and let the growing medium absorb moisture from below. Bottom-watering keeps the foliage dry, which dramatically reduces mold risk in the dense growing environment. Check the lower tray daily and add water as needed to keep the medium consistently moist — not wet, not dry.
Days 5–14: Growth phase
Continue bottom-watering daily. The seedlings will grow visibly each day, which is one of the genuinely satisfying things about microgreens — the progress is fast enough to notice. Keep the grow light on for 12–16 hours per day (a simple outlet timer handles this automatically). If you’re using a window, rotate the tray 180 degrees each day to prevent leaning toward the light source.
Days 7–14: Harvest window
Harvest timing depends on variety and personal preference. The standard is to harvest when cotyledons are fully open and before the first true leaves appear — this is when flavor is most concentrated and growth is most tender. For radish, that’s day 5–7. For sunflower and pea shoots, day 10–14. Cut at soil level with clean scissors, rinse, spin or pat dry, and use immediately. If storing, place in a sealed container with a paper towel to absorb moisture and refrigerate for up to 5 days.
Succession Growing: Never Run Out
The biggest frustration new microgreens growers encounter is harvesting everything at once and then waiting 10 days for the next batch. The solution is succession planting — staggering your sowing dates so that something is always approaching harvest while something else is just germinating.
The 3-tray rotation
With three trays running simultaneously, sow one new tray every 4–5 days. At any given time you’ll have one tray in the germination/blackout phase, one in active growth, and one at or near harvest. This means you’re cutting fresh microgreens roughly every 5 days rather than every 10–14 days. Three trays fits on a single kitchen shelf under one grow light bar — the entire operation takes up less than 3 square feet of counter or shelf space.
Mixing varieties strategically
Since different varieties have different harvest windows, you can use the timing differences to your advantage. Sow a fast variety (radish, ready in 6 days) and a slow variety (sunflower, ready in 12 days) at the same time, and you’ll have two separate harvests from one sowing cycle. Over time, as you learn which varieties you actually use in cooking, you can tune your rotation to match your kitchen habits — more basil if you cook Italian, more pea shoots if you eat a lot of Asian cuisine.
The re-grow question
Microgreens don’t re-grow after cutting the way herbs do — once you’ve cut a tray at soil level, that tray is done. Some varieties (pea shoots especially) will produce a second smaller flush if you cut above the lowest leaf node rather than at soil level, but the second flush is thinner and less productive than the first. The economics of microgreens are built on rapid cycling, not extended harvests: sow a new tray, grow it fast, cut it, compost the roots and medium, and start again.

Harvesting and Using Your Microgreens
Cutting is straightforward: use clean scissors or a sharp knife, cut at soil level (or just above the growing mat surface), and transfer to a colander or salad spinner. Rinse briefly under cold water and spin or pat dry before using or storing. Don’t wash until you’re ready to use — moisture accelerates deterioration in storage.
In the kitchen
Microgreens work best raw — heat destroys both the texture and a significant portion of the heat-sensitive vitamins that make them nutritionally valuable. The most natural uses are as a finishing element: scattered over scrambled eggs or an omelette, layered into sandwiches and wraps, used as a salad base mixed with other greens, blended into smoothies (broccoli and sunflower work particularly well here), or arranged as a garnish over soups, grain bowls, and avocado toast. A single harvest from one 1020 tray produces 3–6 ounces of finished greens — enough for a week’s worth of daily additions to meals.
Flavor pairing guide
Sunflower: mild, nutty — pairs with everything, especially eggs, avocado, and grain bowls. Radish: peppery, sharp — best with rich foods (smoked salmon, cream cheese, fatty meats) where the heat provides contrast. Pea shoots: sweet, fresh — excellent with Asian cuisine, light salads, and anything where you want a green that doesn’t compete. Broccoli: mild, slightly cruciferous — works in smoothies and as a base where flavor neutrality is an asset. Amaranth: mild, earthy — primarily decorative in flavor terms, used more for the visual impact of the vivid coloring.
Troubleshooting Common Problems
Mold on the tray
White fuzzy mold is the most common microgreens problem, and it almost always has one of three causes: top-watering instead of bottom-watering (wet foliage in a dense growing environment is ideal for mold), too-dense seeding (inadequate airflow between seedlings), or poor air circulation in the growing space. Fix: switch to bottom-watering only, reduce seed density on your next tray, and add a small fan nearby for air movement. A diluted hydrogen peroxide spray (1 part 3% hydrogen peroxide to 9 parts water) applied to an affected tray can arrest mold without harming seedlings if caught early.
Uneven germination
Patchy germination with empty spots across the tray usually indicates uneven seed coverage, inconsistent moisture in the growing medium, or seeds that are too old. Ensure the medium is uniformly moist before sowing, distribute seeds as evenly as possible (a salt shaker works well for small seeds), and check seed freshness — most microgreen seeds have a reliable viability window of 1–3 years when stored in a cool, dry place.
Leggy, pale growth
Tall, thin seedlings leaning toward a light source and pale in color is etiolation — insufficient light. Move the tray closer to the light source (2–4 inches from a grow light is ideal), increase light duration to 14–16 hours per day, or upgrade from window-only to a dedicated grow light. This is the single most impactful equipment change for anyone growing in a dim apartment.
Damping off
Damping off is a fungal condition where seedlings collapse at the stem base after germination — the stem appears pinched or water-soaked at soil level. It’s caused by overwatering, poor drainage, or contaminated growing medium. Ensure your tray has drainage holes, use fresh growing medium for each cycle, and allow the medium to approach dryness (not completely dry — approaching dry) between waterings rather than keeping it continuously saturated.
What to Read Next
Microgreens are the fastest-return starting point in the edible indoor garden. For the bigger picture on growing real food in a small space:
- The 2026 Indoor Edible Garden Guide — microgreens, herbs, and compact fruiting plants in one framework
- Best Indoor Herb Garden Kits for Small Spaces in 2026
And for the light and equipment decisions that affect everything you grow indoors:
- Best Grow Lights for Apartments (2026) — full lighting comparison from $32 to $299
- The 2026 Master Guide to High-Rise Food Security — hydroponic systems and large-scale indoor food production
Questions about a specific variety or setup? Send us a note — we read every one.